Get started in three steps
- Get API_KEY > 2. Connect MCP > 3. Use Tool
Step 1: Create your API Key
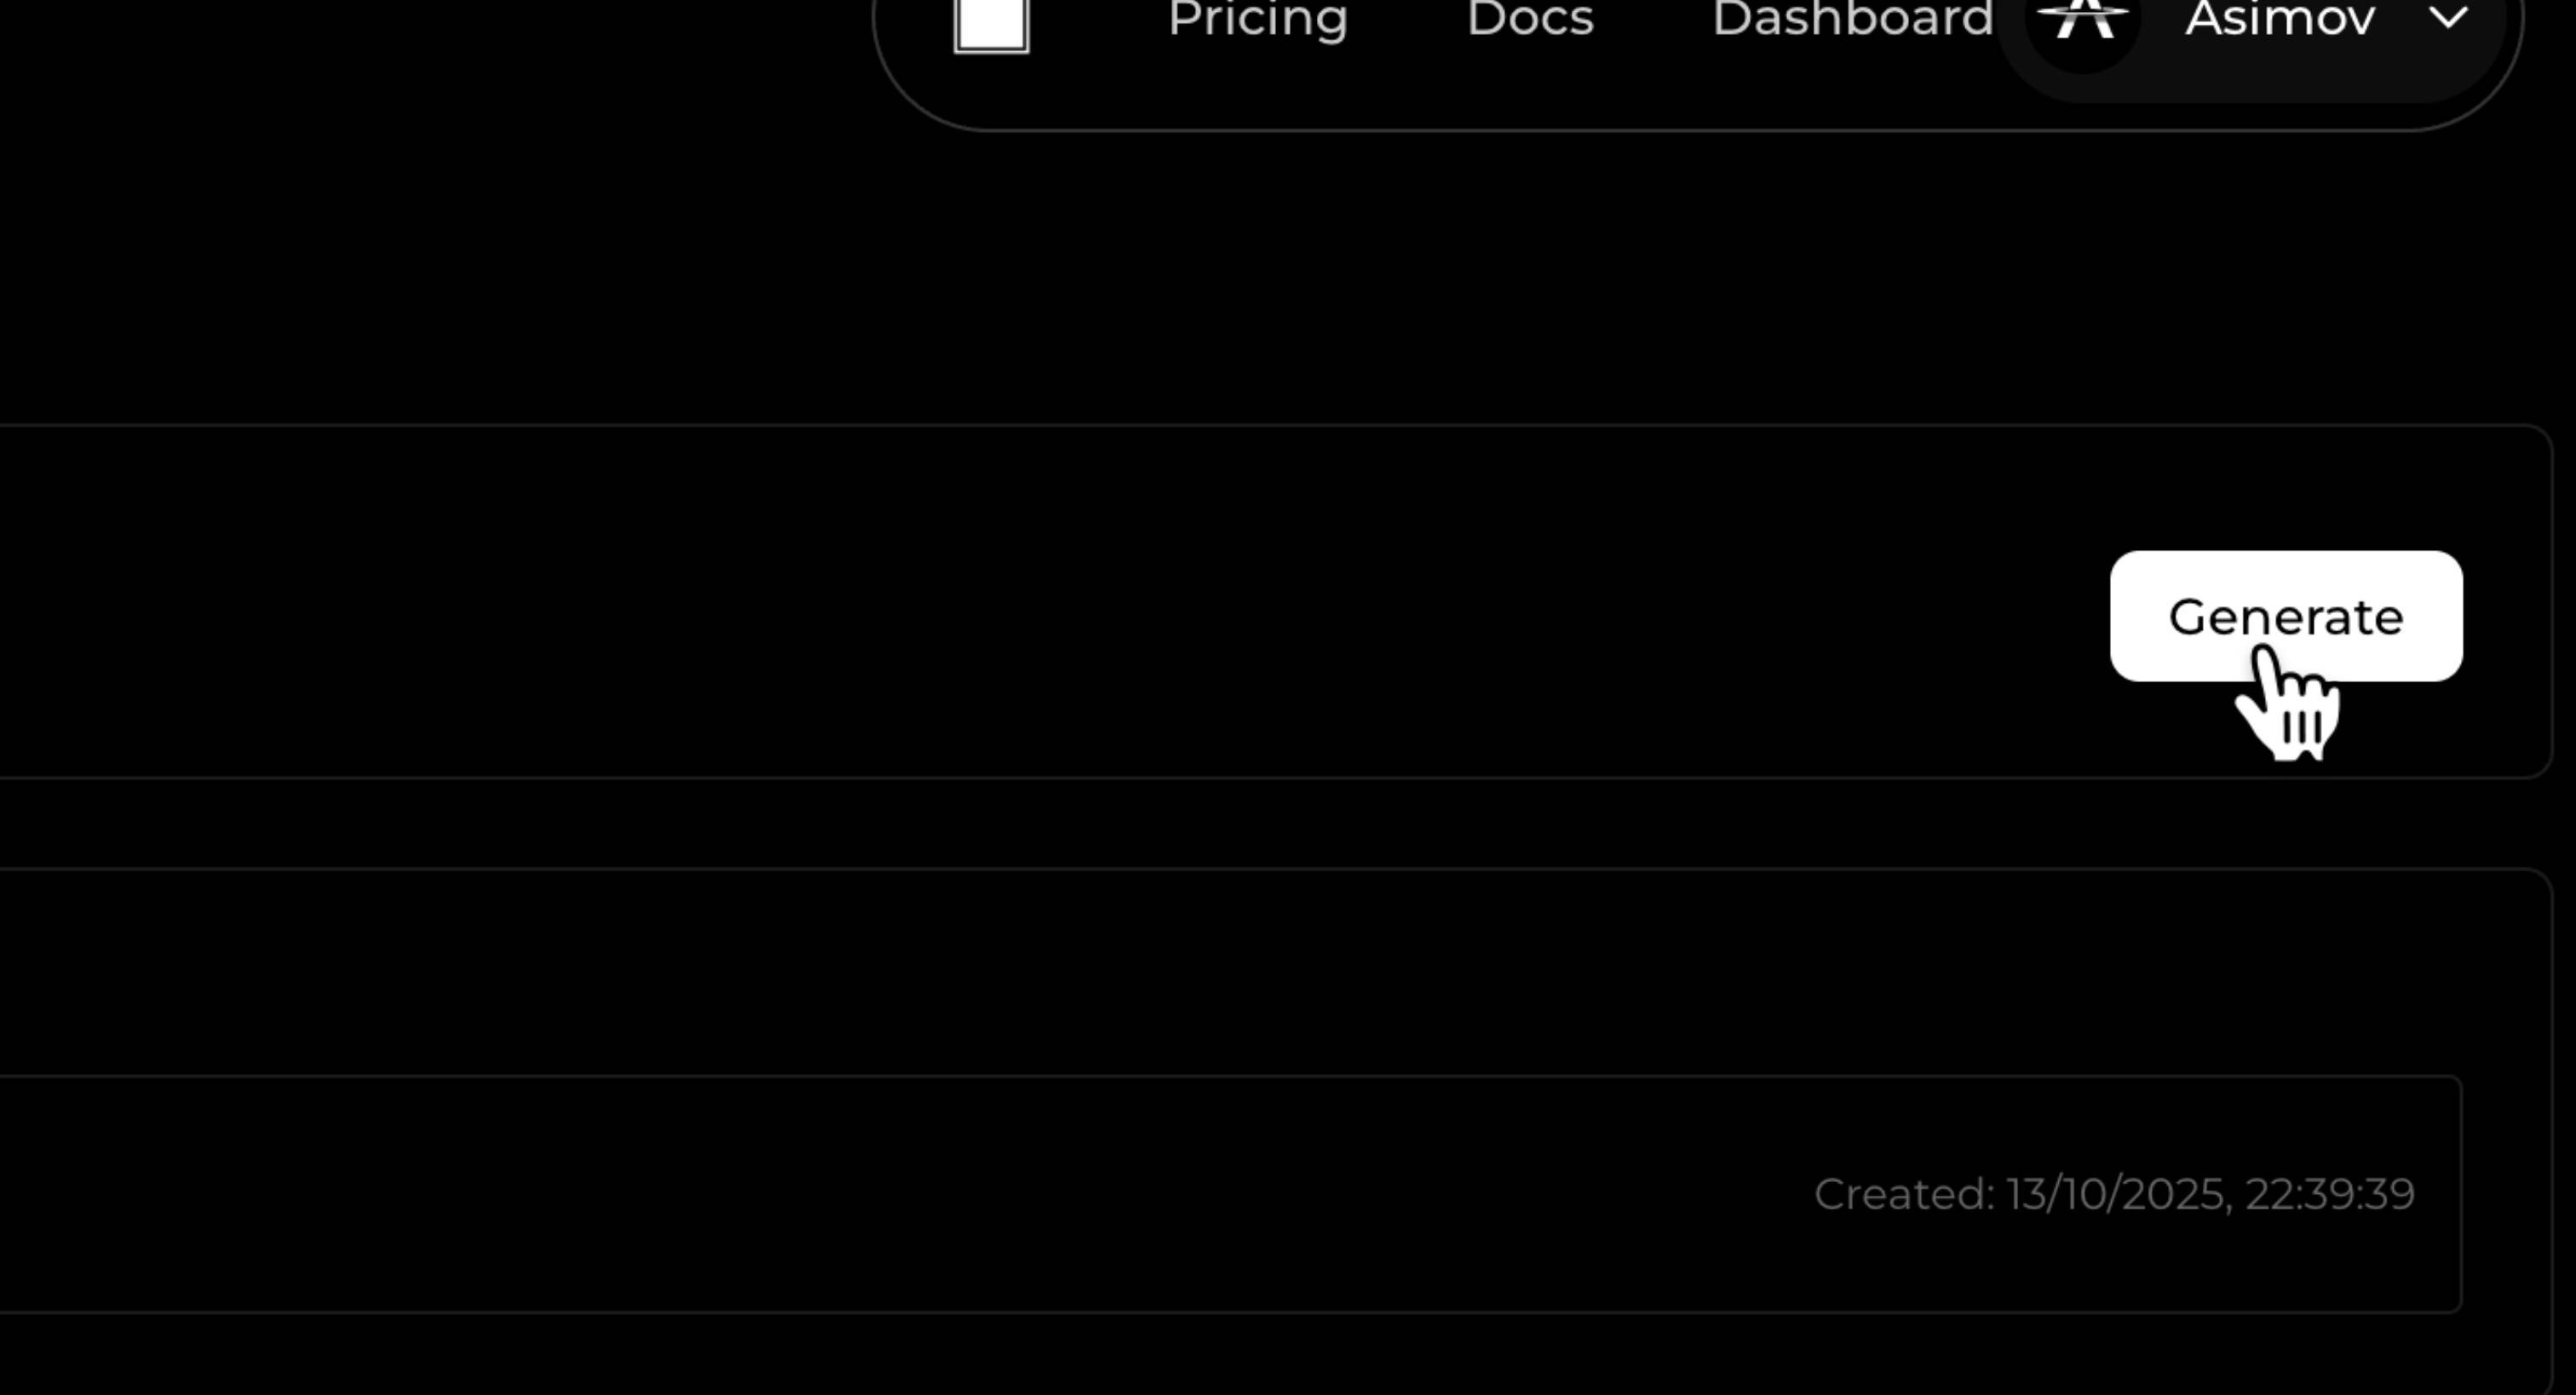
- Go to https://asimov.mov/settings/api
- Click “Generate” button
- Copy the Generated API Key
Step 2: Connect MCP Server
Choose your preferred AI coding assistant and follow the configuration steps:- Claude Code
- Cursor
- Windsurf
- Codex
Add the following configuration to your Replace
~/.config/claude/claude_desktop_config.json:your-api-key-here with the API key you generated in Step 1.After adding the configuration, restart your AI coding assistant to load the MCP server.
Step 3: Use Asimov MCP Tools
Once you’ve configured the MCP server and restarted your AI coding assistant, you can start using Asimov’s tools:- Access the tools: The Asimov MCP tools will be automatically available in your assistant’s interface
-
Available tools: You’ll have access to tools for:
- Context Retrieval
- Repository Map
- Web Search
- And more…
-
Example usage: Simply ask your assistant to use Asimov tools:
The assistant will automatically detect and use the appropriate Asimov MCP tools based on your requests.